Add and Edit Interest
OR
Interest Codes are used to record additional information about individuals and their areas of interest. When an interest code is added to an event and an individual registers for the event, an implied interest will be populated on the Interests child form under the Misc tab of the Individual’s profile.
Using the Event interests and Faculty interests child form on an Event profile, you can add and update Event and/or Faculty interest information for the Event record.
The following section describes the steps to add and edit interest information for an event in NetForum.
Adding Interest
To add Interest information:
-
-
Follow the path listed above.
-
Click the Add
 icon. The Add Interest page opens.
-

Fill in the fields for the populated event according to the table below:
| Field Name | Required? | Description |
|---|---|---|
| Event | Required | This field automatically populates the event’s name and cannot be edited. |
| Interest Code | Required | Expand the Interest Code drop-down menu and select the interest code you will be adding to the event. Interest codes are set up in the CRM module (CRM > Overview > Customer Setup > Scoring Tab > Interest Codes child form). |
| Intensity Value | Required | Enter the intensity (numeric value) for this action in the Intensity Value field. The intensity for an interest code indicates how engaged or "interested" an individual is in that interest code. |
Click the Save button to save your changes and return to the profile. Click the Cancel button to return to the profile without saving your changes.
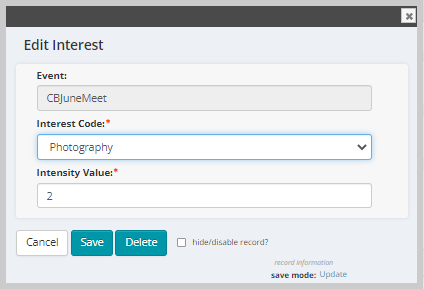
Editing Interest
To edit interest information:
- Click the Edit icon next to the interest record on the Event interests, or Faculty interests (Event Profile) or Session Interests (Session Profile) child forms. The Edit Interest form displays.
- Note: The Edit Interest form has the same design for each object (Event, Event Faculty, and Session) but when the data is saved, the interest record will be saved based on the object selected.
- Edit the appropriate details in the relevant fields.
- Click the Save button to update the interest details. Click the Cancel button to return to the Profile without saving the interest. Click the Delete button to delete the interest record.