Creating Workflow for Outgoing Webhooks
To get the integration instance working in NetForum, the Integration instance need to be linked to the workflow.
To create Workflow Rule:
- Go to Toolkit module and click the Workflow group item list to expand it.
- From the displayed list, click the Add Workflow Rulegroup item link. The Add Workflow Rule form appears.
- On the Add Workflow Rule form, select the Active? check box.
- Enter a rule name in the Rule Name field as required.
- Select an Object as required from the Object drop-down field. This object must match with the Integration Settings and the Message type that you created.
- There are many check boxes on this form, select the desired Trigger check box(es) as required for your Webhook Integration.
- Enter the appropriate value in the Order field.
- Click Save.

The Workflow Rule profile appears.
Adding a Task to the Workflow Rule Created
To add a task to the Workflow Rule created:
- On the Workflow Rule profile, click the Add New Record
 icon on the Tasks child form. This will display the Add Workflow task form.
 - On the Add Workflow task form, enter the Workflow Rule you created.
- On the Type field, select the Program Code option.
- Enter a task name as desired in the task name field.
- Select the start task check box and the stop workflow check box.
- In the Object Workflow section, make sure the object field should have the prepopulated value, if not select from the drop-down list. Make sure this object must match with the Workflow Rule created.
- In the Program Code Workflow section, the all four fields are mandatory to run the Workflow task. Enter the values given below in the respective fields:
- object assembly:netForumIntegrationPublishObject
- object type name: netForumIntegrationPublishObject.WorkflowHandler
-
method to execute: WorkflowTaskHandler
-
method parameters:FacadeObject:f;Operation:o;string:Enter the integration instance name here which is set active in the Outgoing Webhooks child form;Connection:c;Transaction:t
Note: You can enter multiple integration instance names in the methodparameters field and separate them by using comma.

Enter the other details as required and click Save. The Workflow Task will be added and in the List Workflow Rule child form.
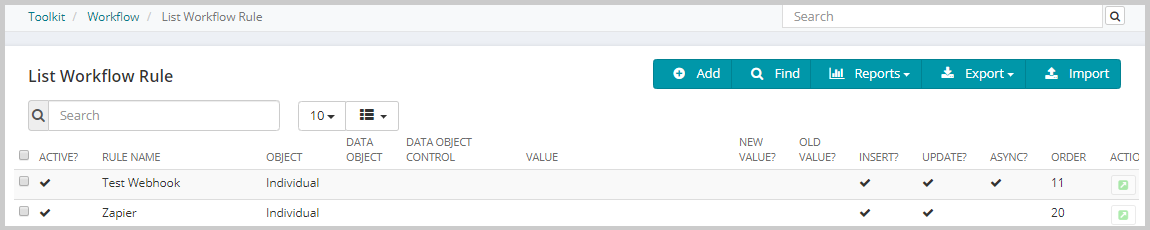
This completes the workflow setup, Now when any action (like Insert, Update, or Delete of the specified object) takes place in NetForum, the system sends messages to the subscriber and the same information gets logged in the Integration Log child form.
Creating other Integration Instance Profile
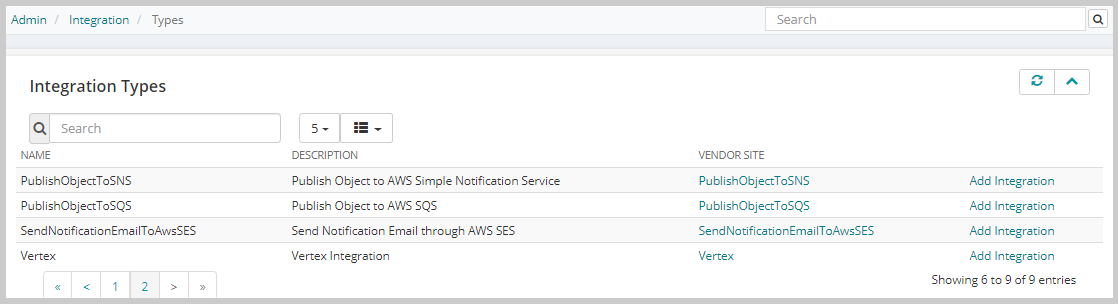
To provide more flexible options in NetForum, three Integration Types are also added in the Integration Types list. Go to the Integration group item and click Types group item link. The Integration Types section contains the list of Integrations available in NetForum. The other Outgoing Webhook options are listed below:
- PublishObjectToSNS - Publish Object to AWS Simple Notification Service
- PublishObjectToSQS - Publish Object to AWS Simple Queue Service
- SendNotificationEmailToAwsSES - Send Notification Email through AWS Simple Email Service
To create Integration Instance profile for these Integration Types:
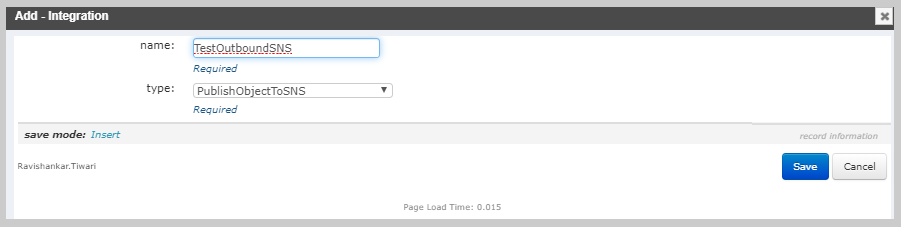
- On the Integration Types child form, click the Add Integration link on the Integration Type field for which you want to add the Integration Instance profile.
- From the displayed Add-Integration form, enter the desired name in the name field.
- Select the integration type from the type field and click Save.
-
Go to the Integration group item and click the Integrations group item link.
-
From the displayed Integrations form, search for the Integration Instance profile created and click the Go To
 icon on the Actions column. This will display the Integration profile.
 -
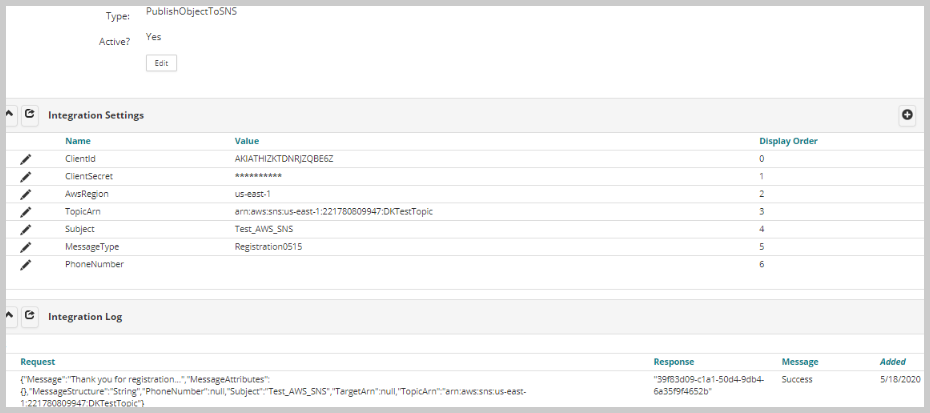
Click the Edit button on the Integration Profile section and select the active check box.
-
Enter the Integration Settings values in each Integration Settings field.
-
ClientId: Client ID to connect AWS Simple Notification Service (SNS). Get the Client ID from AWS.
-
ClientSecret: Client Secret to connect AWS Simple Notification Service (SNS). Get the Client ID from AWS.
-
AwsRegion: AWS Region id, get the Value from AWS (Which region You have selected.)
-
TopicArn: Enter the SNS topic ARN. Get the Value Eg: arn:aws:sns:us-east-1:221780809947:EventReg
-
Subject: SNS Topic Subject. Get the topic name that was created in AWS.
-
MessageType: Message Type ID to generate the payload or message. Message should be defined in the app message table. Enter the Message type that you created in Webhook message.
-
PhoneNumber: Phone number or field to parse if you want to send SMS message.
Once the setup is complete in the Integration settings, then enter the created integration in the workflow.
Similarly, you can create Integration Instance Profile for PublishObjectToSQS and/or SendNotificationEmailToAwsSES.
-
This will add the Integration Instance to the Integrations child form.