Adding FileUploader Widget to a Form
The FileUploader widget provides an option to upload files to a form and allows you to access it through a link when required. Using the Form Designer, you can add and set up the FileUploader Widget to any form in NetForum. The below section describes how to set up FileUploader Widget to a form
To set up a FileUploader Widget to a form:
-
Open the form on which you want to add the FileUploader Widget.
-
Click the System Tools (
 ) menu and then click the Edit in Form Designer link.
 -
On the Form Designer, scroll down to the section where you wish to place the FileUploader widget.
-
On the left navigation pane, scroll down to the DATA section and drag the FileUploader widget to the appropriate location on the form section.
-
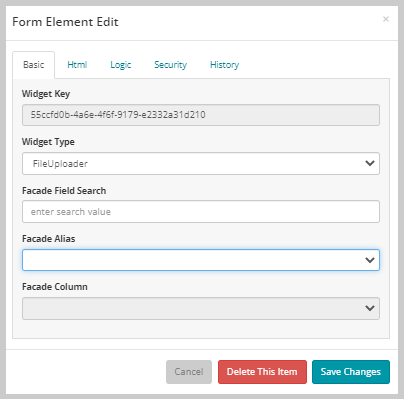
Click the Edit button on the FileUploader widget to open the Form Element Edit window. For more information on the Form Element Edit fields, refer the WidgetEditor topic.
-
On the Basic tab, the Widget Key field displays the system generated GUID and cannot be edited. Note down the Widget key GUID for following steps.
-
The Widget Type field displays the widget name, in this case it displays FileUploader value.
-
Select the Facade Alias value from the Facade Alias drop down field. This field corresponds to the alias of the desired object on the Facade.
-
Select the Facade Column value from the Facade Column field. If the widget needs to access data from the Facade, this identifies which property of the Object (in the alias above) is used. Note down the Facade Column name for following steps.
-
Click the Html tab and enter the label name in the Label Text field. This field lets you specify text to be used to override the default label that is generated by the Facade Field chosen in the prior tab.
-
Click the Save Changes button once you complete updating the fields. The FileUploader widget will display with the label that you added.
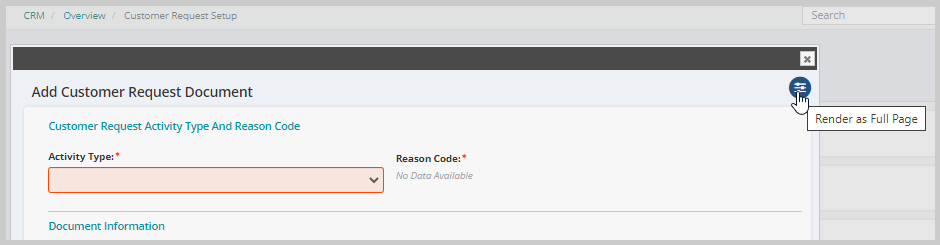
For a form that is displayed as Pop-up window, click the Render as Full Page icon on the form to access the System Tools menu of the form.
On the fully displayed form, Click the System Tools () menu and the click the Edit in Form Designer link.
This will display the Form Designer page.

You can also use the Facade Field Search text field for searching Facade fields for choosing the Facade Alias and Facade Column.
Example of Facade Alias and Facade Column with values:


Important! For a File Uploader to work properly, you must create a File Upload Extension for the FileUploader widget.
To add a File Upload Extension for the FileUploader widget:
-
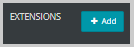
On the Form Designer, scroll down to locate the Extensions section on the left navigation pane.
-
Click the Add button. This will display the Form Element Edit window.
-
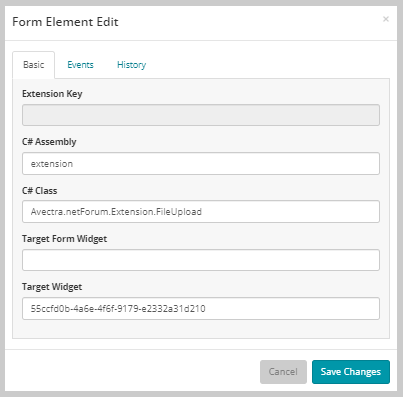
On the Basic tab, enter the ”extension” text in the C# Assembly text field.
-
Enter the “Avectra.netForum.Extension.FileUpload” text in the C# Class field.
-
Enter the FileUploader Widget key GUID in the Target Widget field to link the FileUploader widget.
-
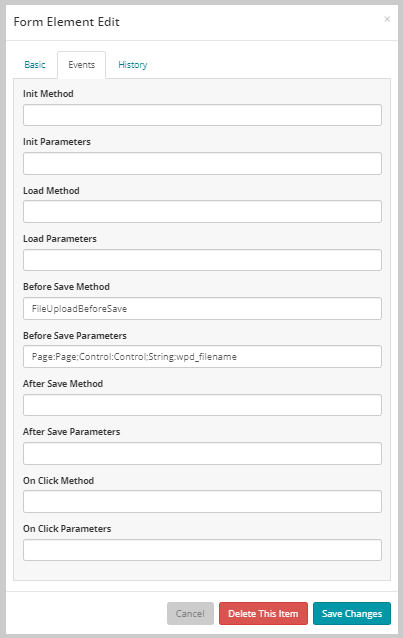
Click the Events tab and enter the “FileUploadBeforeSave” text in the Before Save Method field.
-
Enter the “Page:Page;Control:Control;String:XXXXXXXX” text in the Before Save Parameters text field and replace “XXXXXXXX” value with the Facade Column name of the FileUploader widget (refer the following screen shot for example).
-
Click the Save Changes button when you have finished updating the fields in the Form Element Edit form.
The newly added FileUpload extension will be listed under the Extensions section on the left navigation pane. You can edit the FileUpload extension by clicking the Edit icon.

You can also add a file viewer link for the FileUploader widget, this will help in accessing the uploaded file on a form or profile.
To create a file path link for the FileUploader widget:
-
On the Form Designer, scroll down to locate the DATA section on the left navigation pane.
-
Drag the LinkText widget to the appropriate location on the form section or on profile information panel.
-
Click the Edit button on the FileUploader widget to open the Form Element Edit window.
-
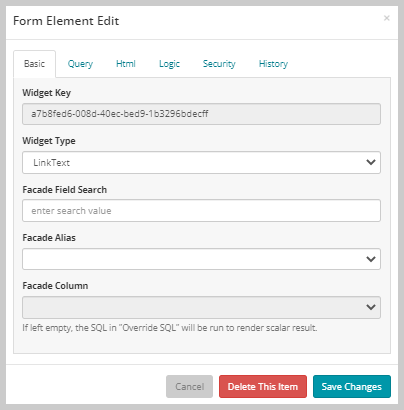
On the Basic tab, the Widget Key field displays the system generated GUID and cannot be edited.
-
The Widget Type field displays the widget name, in this case it displays LinkText.
-
Click the Html tab and enter the label name in the Label Text field.
-
Enter the Facade Column name in the URL field as shown in the below example.
-
Enter the link text in the Link Text field along with the Facade Column name as shown in the below example. This field displays the text with the link on the form.
-
Click the Save Changes button when you have finished updating the fields in the Form Element Edit form.
-
Click the Done button at the top of the left navigation pane to close the Form Designer page to return to the previous form.
Example: {wpd_filename}
Example: {parseDatabasePath:wpd_filename} - click here to view

The newly added File Uploader field will be displayed on the Form, and you can use the Browse... button to upload a file as required.
